Build a microservice with TiDB+ Spring Data Rest in 20 minutes
Previously on Phoebe’s get started with TIDB trilogy: we used TiUP and deployed our sandbox environment. We have also successfully connected to a mysql client and created a database called customerDB, now we are ready to build an application based on it. Please make sure your server and mysql is up and running before getting started.
We will have a super simple service that will expose customer information by a REST API endpoint at localhost:<port>/customers.

All the customer information is hosted on the CustomerDB. And we will use TiDB as the database engine. The application that will pull data from the database and expose them as the endpoint is a Spring Data REST application. And I call it customer-api. (Please forgive me for not being very creative about the naming). The handshake between customer-api and customerDB is done through the application.properties file.
Pre-requisite for this tutorial:
- Get start with TiDB - Explore SQL with TiDB
- So I have it in the title that you will build the micro-service in 20 minutes. It is really the build Spring Data Rest application part that will take 15 minutes. I have the application created for you that you can grab on Github so you can save that time. And here are the official starting application if you’d like to start your own.
In this tutorial, we will focus on the hand shape part. (I am using IntelliJ so that’s what you will see in the screenshot.)
- After opening the customer-api project, expand
/src/main/resources and click application.properties -
Adding the following information:
//Give a name to this datassource:
spring.datasource.name = customer-datasource
//Add the url of the database. For the mysql client, TiDB has it run on port 4000. Also we will use the customerDB we created in TiDB in the previous tutorial spring.datasource.url=jdbc:mysql://localhost:4000/customerDB//Set the username to root. And since we did not set a password there, we can skip it. spring.datasource.username=root//Set the port of this service. I use 8080. Feel free to use anything else that works for you. server.port = 8080//Add some bug fix property there for hibernate not behaving for me: spring.jpa.hibernate.naming.physical-strategy=org.hibernate.boot.model.naming.PhysicalNamingStrategyStandardImpl - Expand
/src/main/java/, right-click CustomerApiApplication, and select “Debug...” The “Started CustomerApiApplication” message displays. I know we are good to go now. - Open a browser and go to
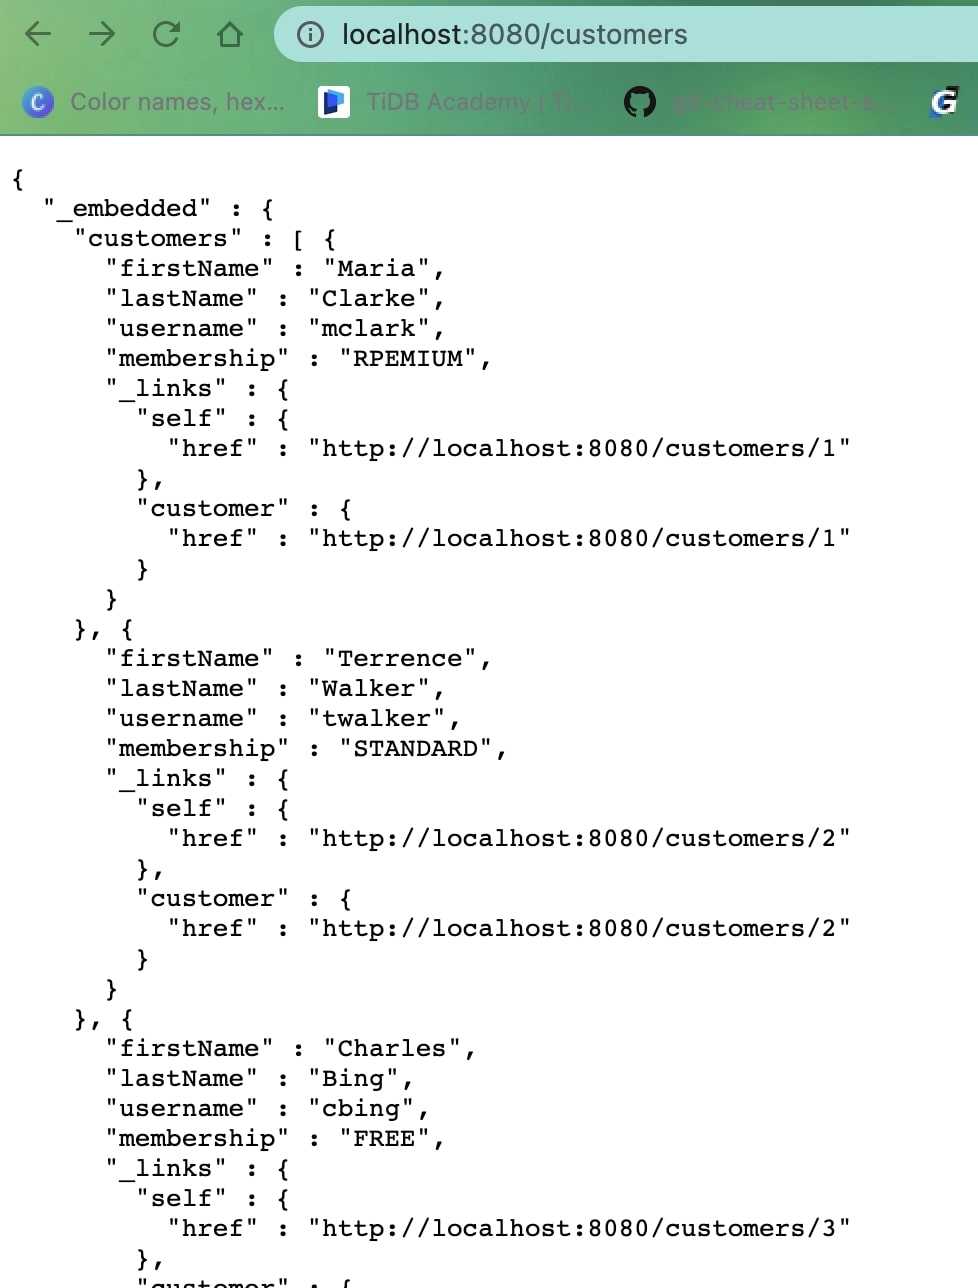
http://localhost:8080/customers(if you used a different port, don’t forget to change it in the url) The customer json payload displayed:
That’s exactly what we have inserted to TiDB yesterday.
